Guide to Long Exposure & Light Painting
- Amanda Nuir Myrdal

- Aug 16, 2022
- 2 min read
Updated: Jul 16
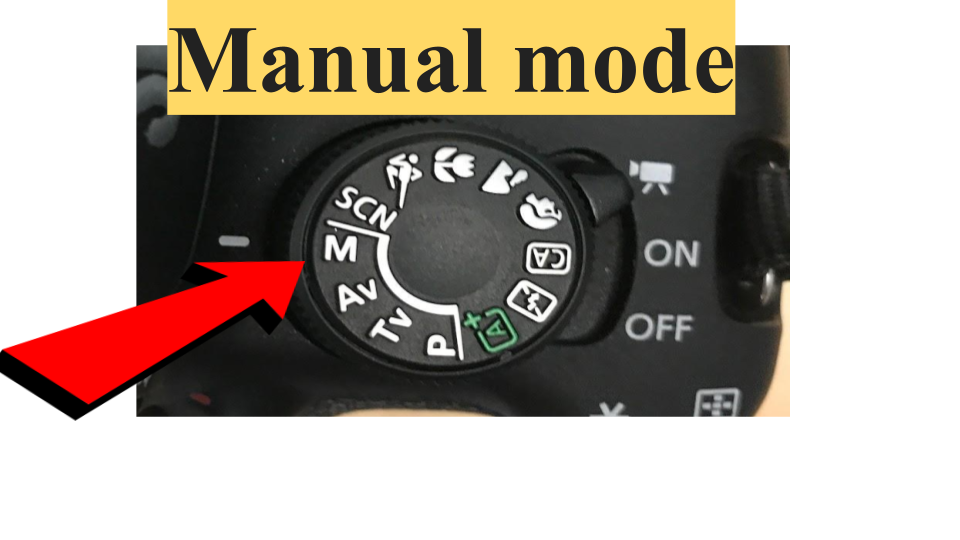
Creating a long exposure photograph is good way to understand how to use manual mode. Using the Manual setting on the camera will allow you to have full control and that is how the perfect photograph and video will be created.
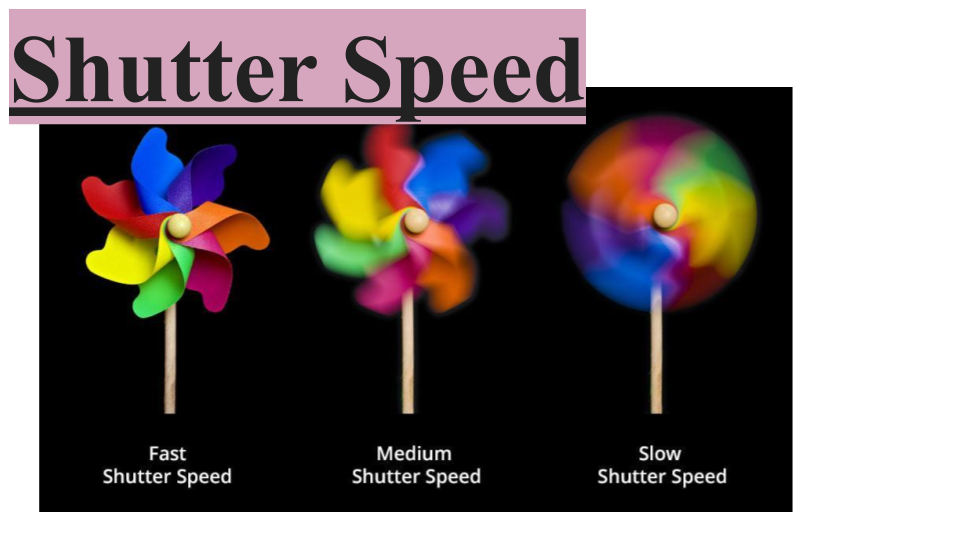
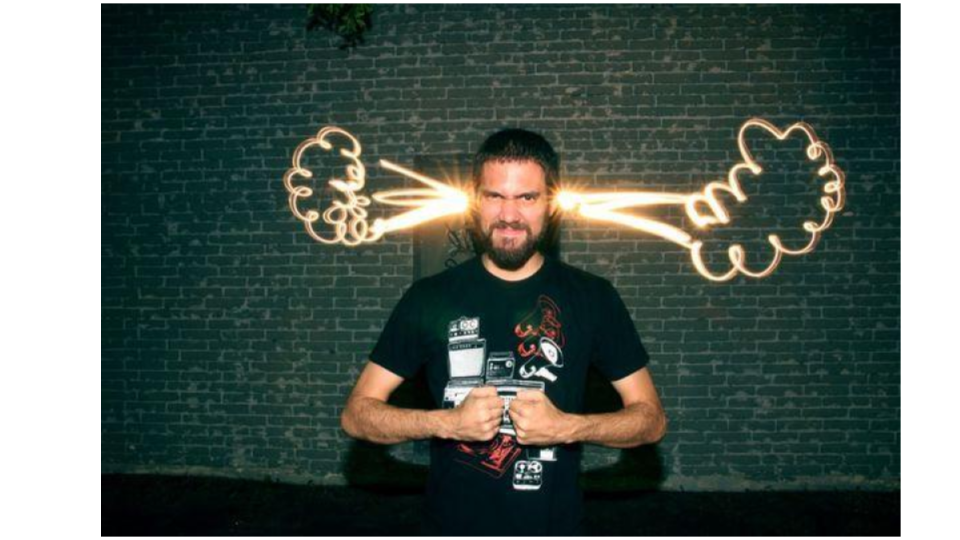
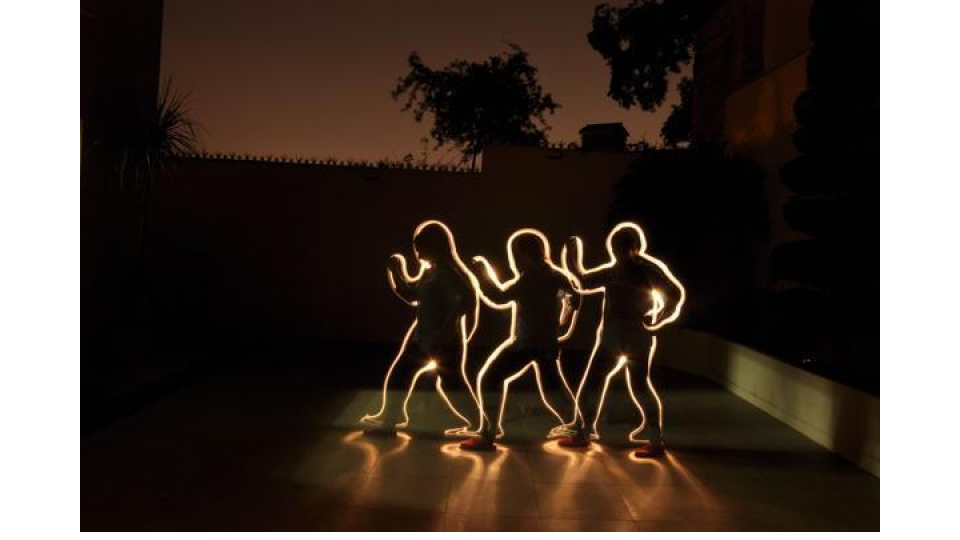
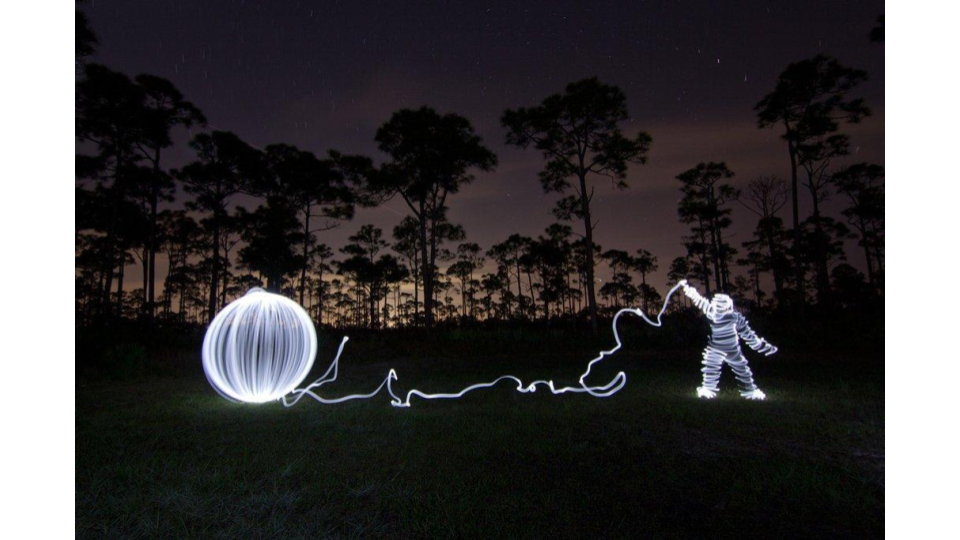
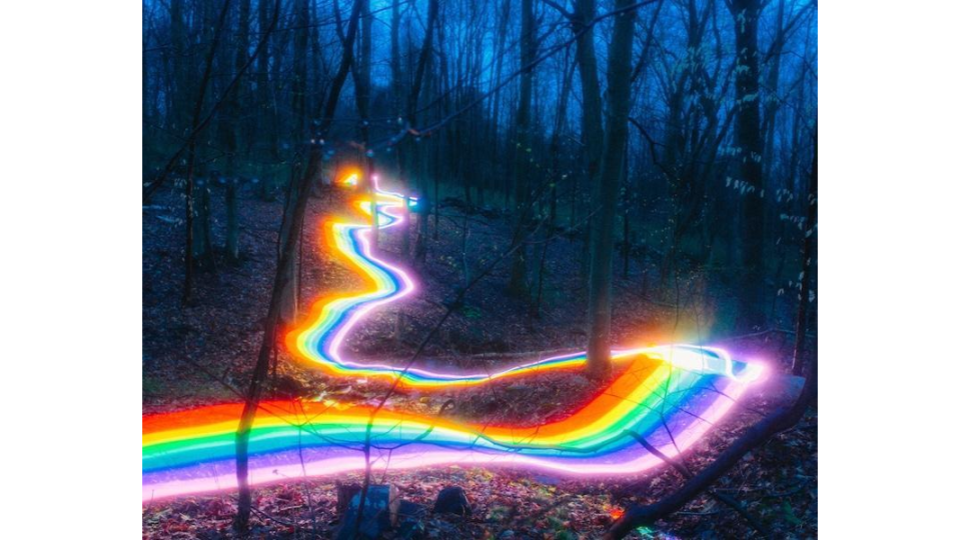
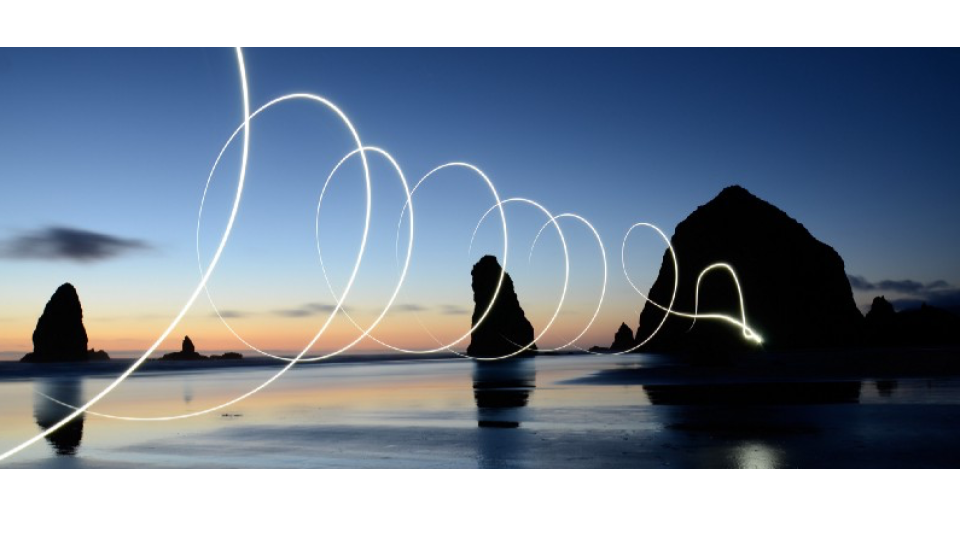
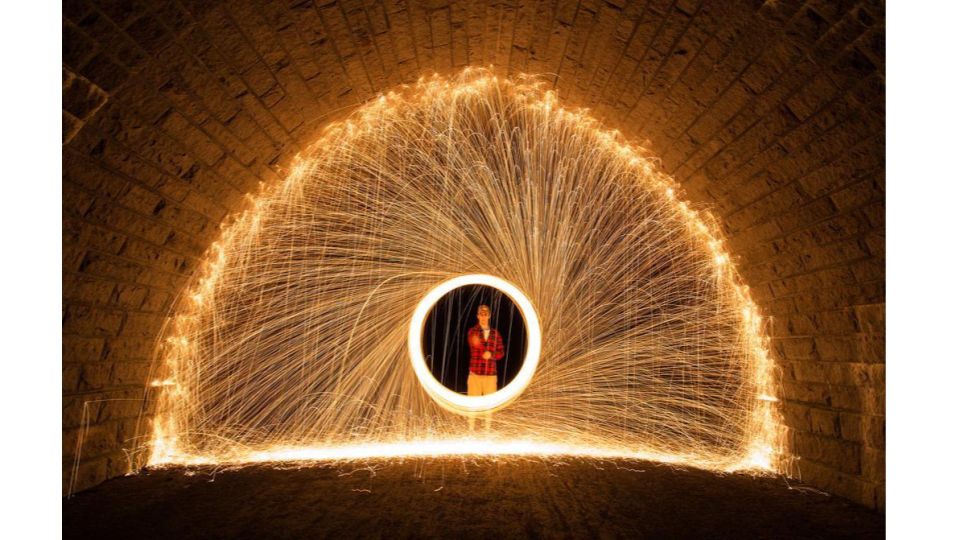
There is a photography technique called long exposure, this means leaving a camera's shutter open for several seconds, transforming any moving light source into a permanent glowing brushstroke on our image.
Here are some examples:
The Gear Checklist
A Camera
Tripod
Phone light or LED lights
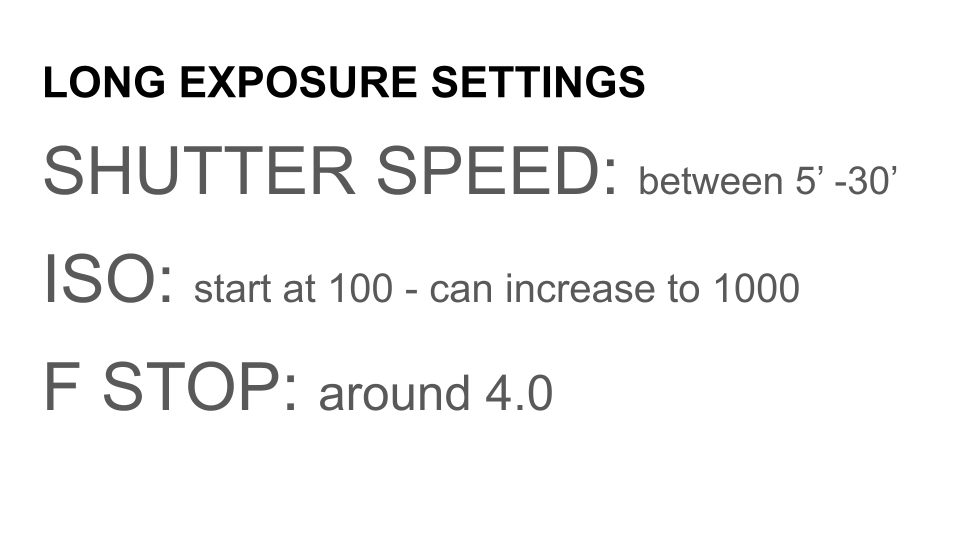
Required Camera Settings
Mode: Manual (M)

Shutter Speed: 8 to 30 seconds. (This gives you plenty of time to run into the frame and draw your design!)

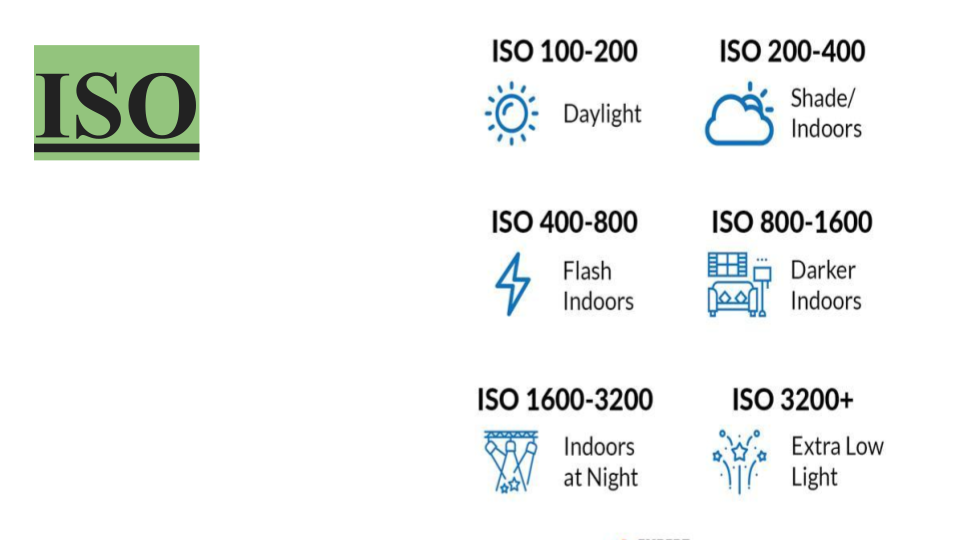
ISO: 100 or 200. (Keeping the ISO low prevents the dark background from looking grainy or pixelated.)

F stop: f/5.6 - f/20. (A medium-to-narrow f stop allows flexibility with light exposed)

Step 2: Set Up in Total Darkness
Find a room inside where you can shut the blinds and turn off all the lights, or head outside into a backyard or park at night.
Place an object (like a chair or a friend) where you intend to draw so you can set your focus.
Kill the lights! Make sure its dark

Step 3: Start Painting!
Press the shutter release button and step into the frame.
Point your flashlight or glow stick directly toward the camera lens and begin drawing.
Move at a steady, deliberate pace. If you want a line to look thicker and brighter, move your light slowly. If you want it faint and thin, wave it quickly.
Keep track of your time! When you hear the camera click closed, step back and inspect your masterpiece on the camera screen.
Tips and tricks
The Light Writing Trick
Try writing your name in the air!
The Catch: Because you are facing the camera, your writing will show up backward in the final photo. You either need to practice writing in reverse mirror-image, or simply flip/mirror the photo horizontally later in an editing app!
2. The Hologram Outline
Have a friend sit perfectly still in a chair. Use your flashlight to trace closely around the entire silhouette of their body. When the exposure finishes, your friend will look like a glowing, neon hologram!
3. The Strobe Pop
If your flashlight has a "strobe" or blinking setting, turn it on while waving it across the frame. Instead of a continuous ribbon of light, you will create an awesome, futuristic dotted-line pattern.
Which light source are you going to experiment with first—a classic flashlight, a colorful neon glow stick, or a cycling RGB screen app on your phone?
The possibilies are endless!!
Side note
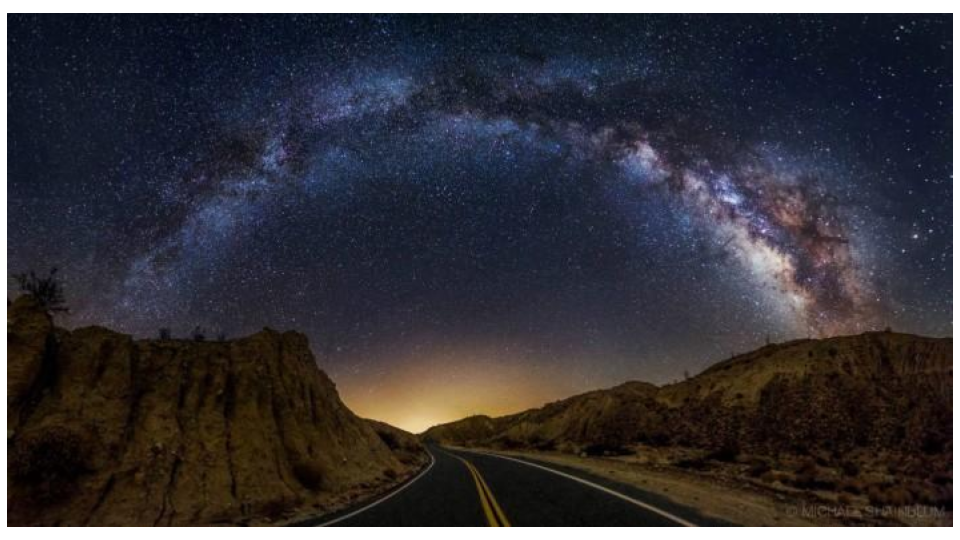
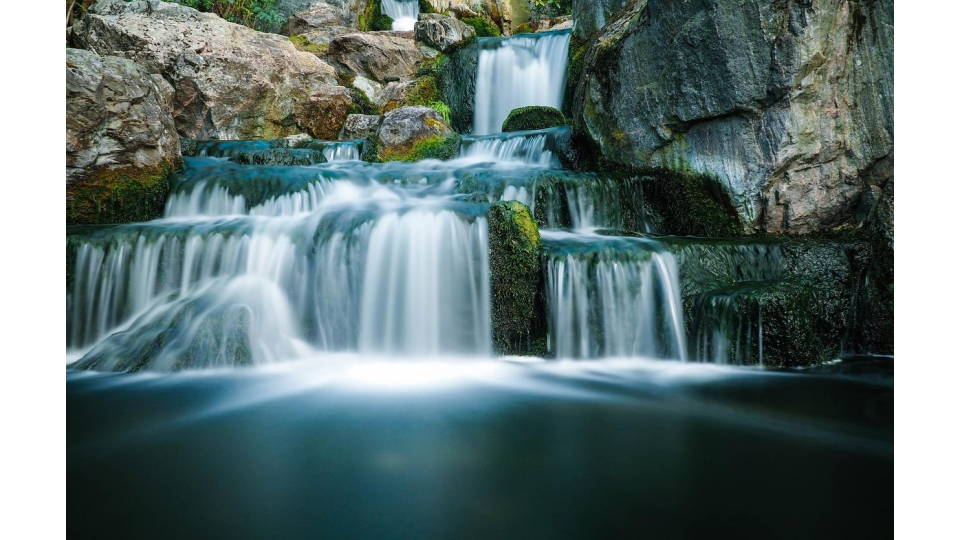
You can capture the stars or have water look like its flowing using these same long exposure techniques. Here are some examples. Try it out for yourself!


Comments